Is your Culligan water filter not working as well as it used to? Changing your water filter regularly is key to keeping your water clean and tasting great.
But if you’re unsure how to do it, don’t worry—you’re in the right place. This simple step-by-step guide will show you exactly how to change your Culligan water filter quickly and easily. By the end, you’ll have fresh, pure water flowing in no time.
Keep reading to learn how to take control of your water quality today!

Culligan Water Filter Basics
Culligan water filters help improve water quality in homes. They remove impurities and make water safer to drink. Understanding the basics of these filters helps in proper maintenance. This section covers the types of Culligan filters and when to replace them.
Types Of Culligan Filters
Culligan offers several types of water filters. Each type serves a different purpose. Some filters focus on removing chlorine and bad taste. Others target sediment, dirt, and rust particles. There are also filters designed to reduce lead and other harmful chemicals. Knowing your filter type helps in choosing the right replacement. It ensures your water stays clean and fresh.
When To Replace The Filter
Replacing the filter on time is important for water quality. Most Culligan filters need changing every 3 to 6 months. Usage and water quality affect this timing. Signs like bad taste or smell mean it’s time to replace. Some systems have indicators to show filter status. Regular replacement keeps water pure and system working well. Don’t wait too long to change the filter.
Tools And Materials Needed
Changing a Culligan water filter needs some basic tools and materials. Having these ready makes the task easier and faster. It helps to avoid interruptions and mistakes during the process.
Using the right tools also protects your filter system from damage. It keeps the water clean and safe. Here is a list of what you need for this job.
Replacement Culligan Filter Cartridge
The new filter cartridge matches your Culligan model. Choose the correct type for your water system. This ensures clean water and proper function.
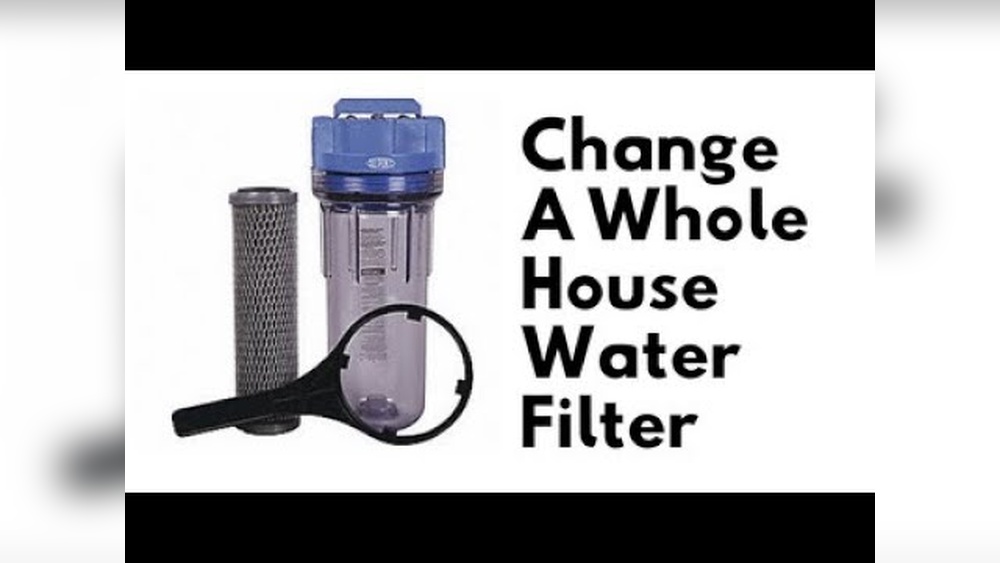
Filter Wrench
A filter wrench helps loosen and tighten the filter housing. It fits around the filter canister for a firm grip. This tool prevents damage from excessive force.
Towel Or Small Bucket
A towel or small bucket catches water that spills out. It keeps the area dry and clean. This reduces mess and slip risks.
Gloves
Wear gloves to keep your hands clean and safe. Gloves protect against germs and sharp edges. They also help grip slippery parts better.
Clean Cloth
Use a clean cloth to wipe the filter housing. It removes dirt and debris before installing the new filter. Clean surfaces improve filter sealing.
Preparing For Filter Replacement
Preparing for a Culligan water filter replacement is simple but important. This step keeps your system safe and clean. It helps avoid water spills and damage during the change. Follow these steps carefully to get ready.
Turning Off The Water Supply
First, find the main water valve near your Culligan system. Turn it clockwise to close it. This stops water from flowing into the filter. Check if the water flow has stopped by opening a nearby faucet. If no water comes out, you are ready to continue.
Relieving Pressure From The System
Next, release pressure inside the water filter system. Open the faucet connected to the Culligan filter. Let the water run until it slows down or stops. This step prevents water from spraying out when you remove the filter. It also makes the process safer and cleaner.
Removing The Old Culligan Filter
Removing the old Culligan water filter is the first step in keeping your water clean. This process helps maintain the water system’s efficiency. Follow these simple steps to remove the old filter safely and quickly.
Locating The Filter Housing
Start by finding the filter housing. It is usually under the kitchen sink or near the water meter. The housing is a round or cylindrical container that holds the filter inside. Look for a plastic or metal case attached to the water pipe.
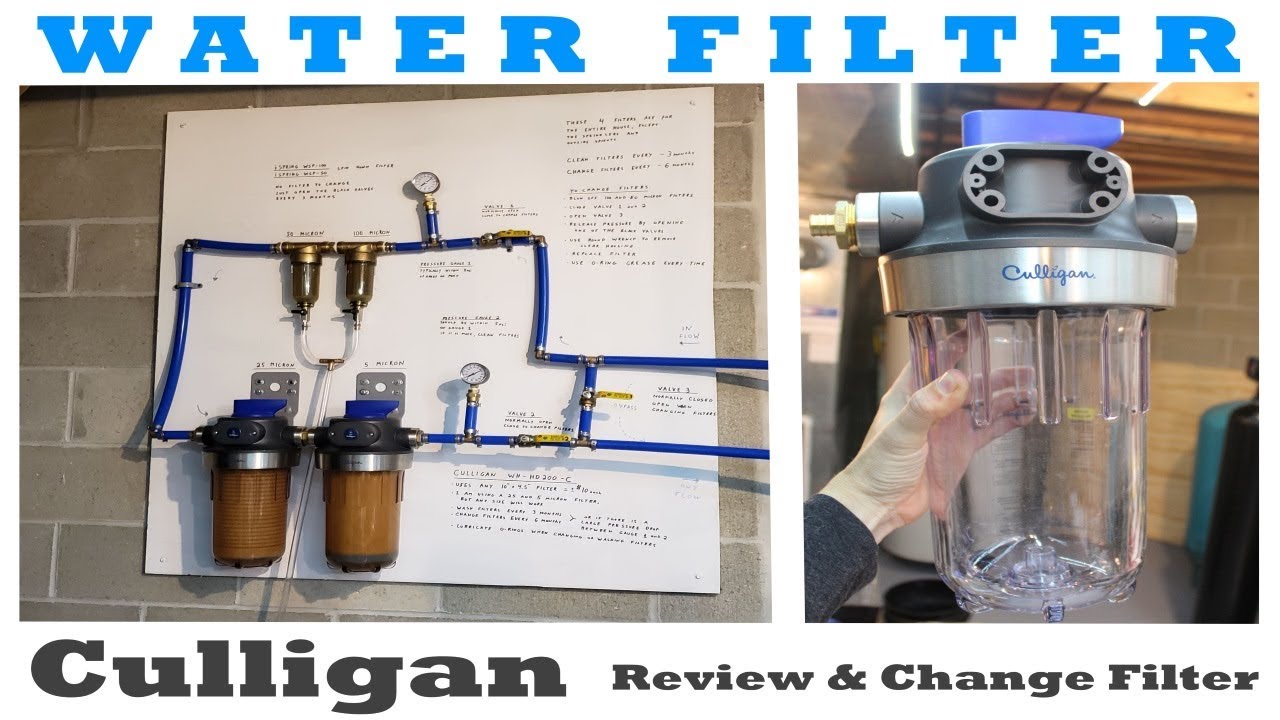
Opening The Filter Canister
Turn off the water supply before opening the canister. Use a filter wrench or your hands to twist the canister counterclockwise. Be careful not to spill water. Place a towel or bowl underneath to catch drips. Open the canister slowly to avoid sudden water flow.
Taking Out The Used Filter
Reach inside and pull out the old filter cartridge. It might be wet and dirty, so handle it carefully. Dispose of the old filter according to local rules. Clean the inside of the canister with a soft cloth before inserting a new filter.
Installing The New Culligan Filter
Installing the new Culligan filter is an important step in keeping your water clean. Follow each part carefully to ensure the filter works well. This process is simple and does not take much time.
Checking The New Filter
First, take the new filter out of its packaging. Look for any damage or dents on the filter. Make sure the model number matches your water system. Check the expiration date to ensure the filter is fresh. A good filter means better water quality.
Placing The Filter Correctly
Hold the filter with the label facing out. Align the filter with the housing slot. Push the filter straight in without forcing it. You should feel it click or fit snugly. Proper placement prevents leaks and ensures clean water.
Sealing The Filter Housing
Close the filter housing carefully. Turn the housing cap clockwise until tight. Do not over-tighten to avoid damage. Check for any gaps around the seal. A tight seal stops water from leaking and keeps the filter secure.
Restarting The Water System
Restarting the water system is a key step after changing your Culligan water filter. This step ensures clean water flows properly through your home again. It also helps avoid any damage or leaks that could happen if the system is not started right.
Take your time and follow each step carefully. This will help keep your water system safe and working well.
Turning On The Water Supply
Find the main water valve near your Culligan filter. Slowly turn the valve to open the water flow. Listen for any unusual sounds as water starts moving. Opening the valve too fast may cause pressure spikes. These spikes can damage your plumbing or filter system.
Wait a few moments for water to fill the filter housing. This lets your new filter work properly. If water does not flow, check if the valve is fully open. Sometimes valves need a gentle push to turn completely.
Checking For Leaks
Look closely at all filter connections and fittings. Use a dry cloth to spot any water drops or dampness. Leaks can waste water and lower system pressure. Tighten any loose fittings by hand, but avoid over-tightening. Over-tightening can crack the filter housing or pipes.
Run water through the system for several minutes. Watch again for any leaks that may appear under pressure. Early leak detection saves costly repairs later. If leaks persist, turn off the water supply and check the filter installation again.
Flushing The New Filter
Flushing the new Culligan water filter is a key step after installation. It removes loose carbon dust and cleans the filter. This process helps ensure fresh and clean water from the start. Skipping flushing can cause cloudy water or strange taste.
Why Flushing Is Important
Flushing clears out dust and particles trapped in the filter. New filters often have small carbon bits inside. These bits can make water look dirty or taste odd. Flushing also activates the filter media. This helps the filter work better and last longer.
How To Flush Properly
Start by turning on the cold water faucet. Let the water run through the new filter for about 5 minutes. Use a clean container to catch the water during flushing. Watch for clear water without cloudiness. Turn off the water and check for leaks. The filter is ready once the water runs clear and fresh.
Maintenance Tips For Culligan Filters
Keeping your Culligan water filter in good shape helps ensure clean, fresh water. Regular maintenance extends the filter’s life and keeps it working well. Simple steps can make a big difference in the water quality you enjoy every day.
Setting Reminders For Replacement
Mark the date when you install a new filter. Use a phone alarm or calendar app to set a reminder. Culligan filters usually need changing every three months. Timely replacement prevents clogging and keeps water pure. This small habit saves trouble later.
Regular System Checks
Check your Culligan system every few weeks. Look for leaks or unusual sounds. Clean around the filter area to avoid dust buildup. Check water flow; slow flow may mean a clogged filter. Early checks help catch problems before they grow.
Frequently Asked Questions
How Often Should I Change My Culligan Water Filter?
Culligan recommends changing your water filter every 3 to 6 months. Frequency depends on water quality and usage. Regular changes ensure clean, fresh water and prevent clogging. Always check your filter’s indicator for best results.
What Tools Do I Need To Change A Culligan Water Filter?
Most Culligan filters require no tools for replacement. Some models may need a filter wrench included in the package. Always read your specific filter manual to know if tools are necessary.
Can I Change The Culligan Filter Myself?
Yes, you can change the Culligan filter yourself. The process is simple and involves turning off water, removing the old filter, and installing the new one. Follow your filter’s manual for step-by-step instructions.
How Do I Dispose Of An Old Culligan Water Filter?
Dispose of old Culligan filters according to local recycling guidelines. Many components are recyclable. Avoid throwing filters in regular trash to reduce environmental impact.
Conclusion
Changing a Culligan water filter keeps your water clean and fresh. Regular changes help your system work well. The steps are simple and save you money. A clean filter protects your health every day. Take a few minutes to do this task right.
Clean water tastes better and feels safer. Stay on schedule to avoid any water issues. You can do this yourself without any hassle. Clear water is just a filter change away.

Hasan Al Sarker is a Reverse Osmosis Specialist. He has worked for many years to ensure safe drinking water for all. His research paper has been published in several journals, including Issue, Medium, and Slideshare. He is recognized as a water doctor among specialists though he did not attend medical college.
Besides working as a researcher of reverse osmosis technology, he is also very fancy with the kitchen and cooking. His guides are reading thousands of people every day. As a head of content, he is responsible for all the published articles at RO System Reviews.