If you want clean, fresh-tasting water from your Whirlpool fridge, changing the water filter is a must. But maybe you’re wondering how to do it without hassle or damage.
Don’t worry—this guide will walk you through each simple step. By the end, you’ll know exactly how to replace your water filter quickly and easily. Keep reading to protect your health and enjoy pure water every day!
Identify The Filter Type
Identifying the right water filter type is the first step in changing your Whirlpool fridge filter. This ensures the new filter fits perfectly and works well. Using the wrong filter can cause leaks or reduce water quality. Follow these steps to find the correct filter type easily.
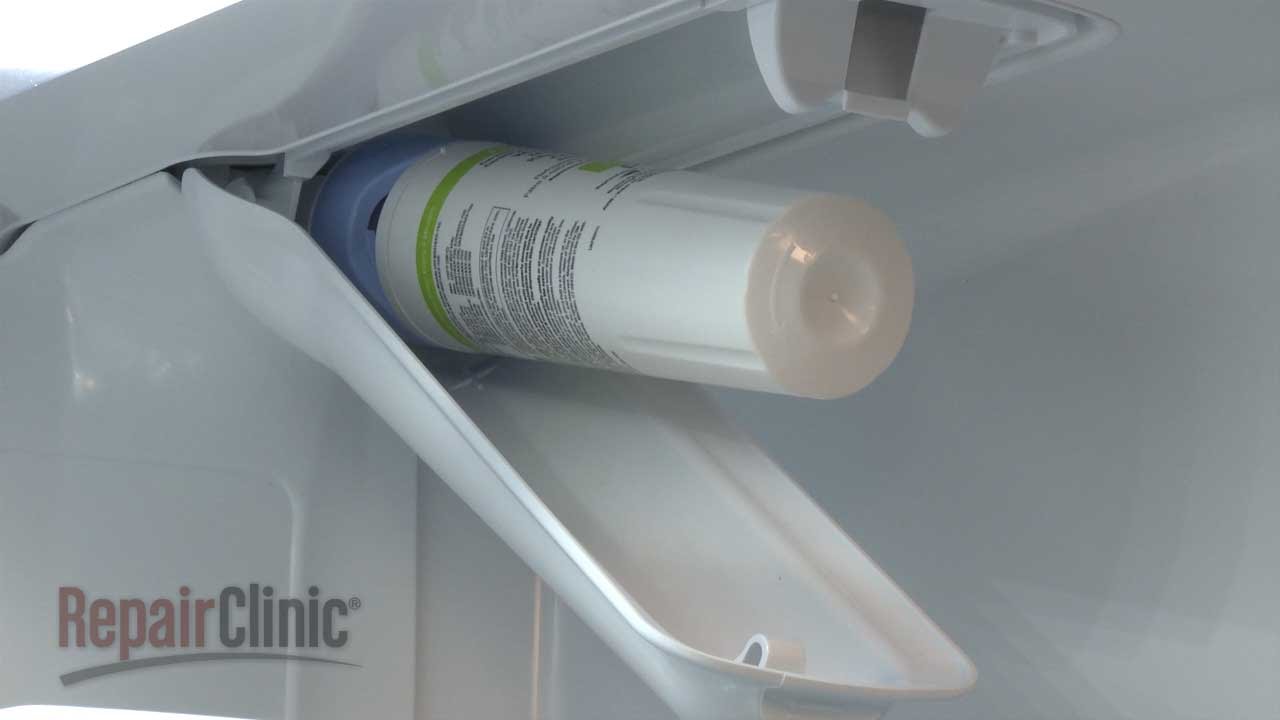
Locate The Filter On Your Fridge
Most Whirlpool fridge filters are inside the fridge or at the base grille. Open the fridge door and check the upper right or left corner. Some models have the filter in the back, near the bottom. Look for a cylindrical shape or a pull-out tab. The filter usually has a cover that you can twist or pull off.
Check Model And Filter Number
Find the model number on the fridge label. It is often inside the fridge door or on the side wall. Write down the model number. Next, check the filter number on the filter itself. It is printed on the filter body or its packaging. Match these numbers when buying a new filter. This step avoids buying the wrong type and keeps your water clean and fresh.
Prepare For Replacement
Changing the water filter in your Whirlpool fridge starts with good preparation. This step helps avoid problems during the replacement. It saves time and keeps the process smooth.
Prepare your space and tools before you begin. A clear area near the fridge makes the task easier. Also, make sure to protect the floor from any water spills.
Gather Necessary Tools
Collect all tools needed for the job. Usually, you only need a new water filter and a cloth. The cloth helps catch any drips during removal. Some filters may require a small wrench, so check your fridge’s manual.
Having everything ready means no interruptions. It also reduces the chance of mistakes. A steady hand and the right tools make filter changes safe and simple.
Turn Off Water Supply
Locate the water supply valve behind or under your fridge. Turn it off to stop water flow. This step prevents leaks and messes during filter removal.
After shutting the valve, open the fridge water dispenser. Let the remaining water flow out. This clears the pipes and reduces pressure. Now, you are ready to remove the old filter safely.
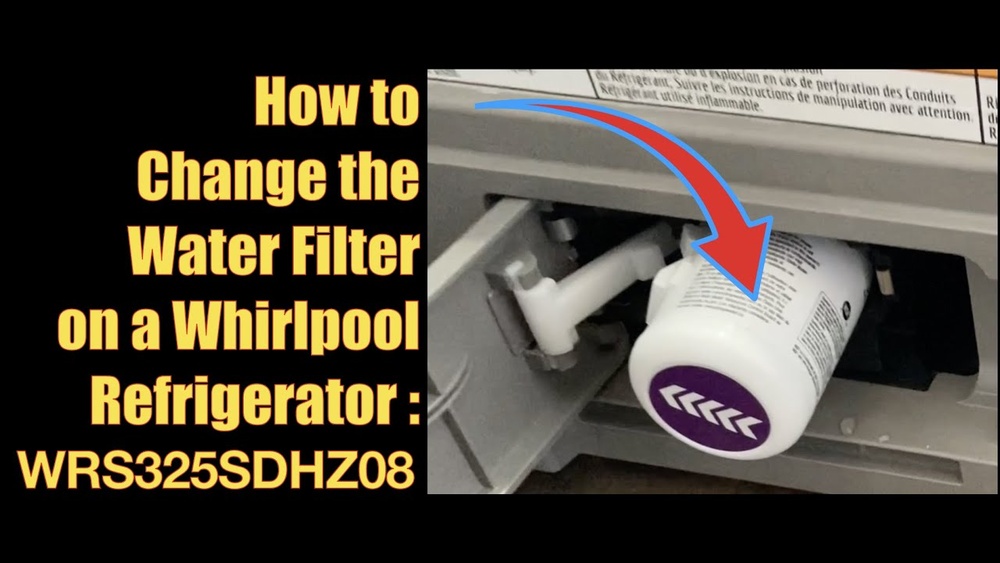
Remove The Old Filter
Removing the old water filter from your Whirlpool fridge is the first important step. This process helps keep your water clean and tasting fresh. It also prepares the fridge for the new filter. Take your time and follow the steps carefully for best results.
Before you start, make sure to have a towel or cloth handy. Some water might spill when you remove the filter. Stay calm and work gently to avoid any damage.
Release The Filter Housing
Locate the filter housing inside your fridge. It is usually in the upper right corner or inside the door. Push the release button or twist the housing counterclockwise. This will unlock the filter from its place. Do not force it if it feels stuck. Try to wiggle it gently to loosen.
Safely Extract The Filter
Once released, pull the filter straight out. Hold it firmly to avoid dropping. Some water may drip, so keep your towel ready. Avoid twisting or bending the filter during removal. Dispose of the old filter according to local recycling rules. Now your fridge is ready for a new filter installation.
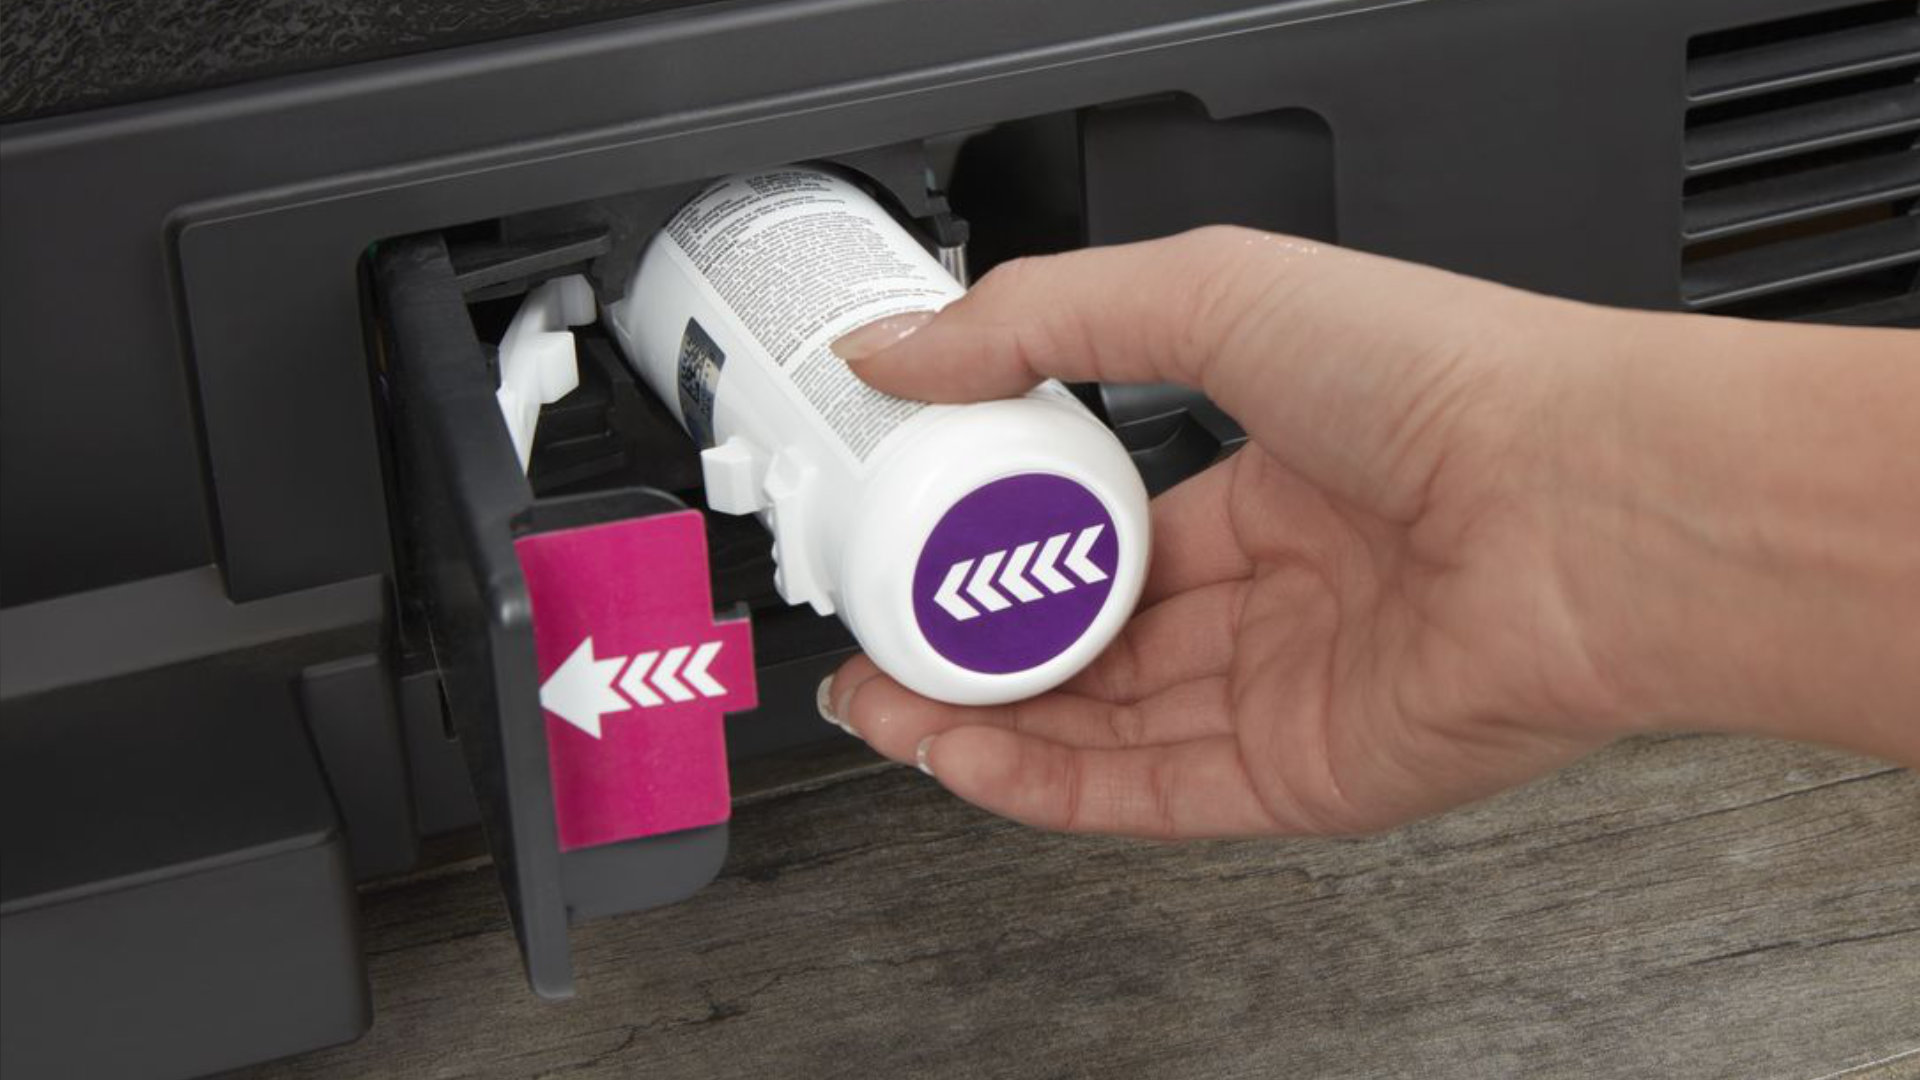
Install The New Filter
Start by aligning the new filter with the slot inside the fridge. Push it in firmly until it clicks into place. Make sure it fits snugly to avoid leaks.
Unpack And Inspect The New Filter
Start by carefully opening the new water filter package. Take out the filter and check it for any damage. Look for cracks, dents, or missing parts. Make sure the filter matches the model number of your fridge. Clean hands help avoid dirt or oils on the filter. Set the filter on a clean surface before installation.
Insert And Secure The Filter
Locate the filter slot inside your Whirlpool fridge. Align the new filter with the slot’s shape. Push the filter gently but firmly into place. Turn the filter clockwise until it stops or clicks. This locks the filter securely. Check that the filter does not move or wiggle. Close the filter cover if your fridge has one. Run water through the dispenser to clear air and loose carbon.
Reset The Filter Indicator
After changing your Whirlpool fridge water filter, reset the filter indicator light. This step helps the fridge track the new filter’s usage. It prevents unnecessary alerts and keeps your water fresh. Resetting is quick and simple.
Locate The Reset Button
Find the filter reset button on your fridge. It is usually near the water dispenser or control panel. Check your fridge manual if you cannot find it. Some models use the “Ice Type” or “Reset Filter” button for this task.
Perform The Reset Procedure
Press and hold the reset button for about 3 seconds. The filter indicator light will blink or turn off. This signals the reset is complete. Release the button and check if the light stays off. Your fridge is now ready with a fresh filter indicator.
Flush The New Filter
Flushing the new water filter is an important step after installation. This process removes trapped air and small particles from the filter. It also helps the water taste fresh and clean. Skipping this step can cause sputtering or strange taste in your water. Follow these simple steps to flush your Whirlpool fridge’s new water filter properly.
Run Water To Remove Air And Debris
Turn on the water dispenser and let it run. Keep it flowing for about 3 to 5 minutes. This clears out air bubbles and loose carbon bits from the filter. Use a large cup or container to catch the water. The water may look cloudy or smell odd at first. This is normal and will clear after a short time.
Check For Leaks And Proper Flow
Watch closely for any leaks around the filter area. Tighten the filter if you see drips or water pooling. Also, check the water flow from the dispenser. It should be steady and strong. Weak flow could mean the filter is not seated correctly. Adjust the filter until the water flows smoothly without leaks.
Maintenance Tips
Proper maintenance keeps your Whirlpool fridge working well. Changing the water filter regularly is key. Clean filters ensure fresh, clear water and ice. Follow these simple tips to know when and why to replace your filter.
When To Replace Your Filter
Replace the water filter every six months. This schedule keeps water tasting fresh. Some models have a filter indicator light. It will alert you when replacement is needed. If your fridge lacks this feature, mark the date. Set a reminder to change the filter on time.
Signs Of A Clogged Filter
Slow water flow is a common sign. Water may drip or stop completely. Ice cubes may taste strange or look cloudy. Unusual odors can also mean a clogged filter. These signs suggest it’s time for a new filter. Acting quickly avoids damage to your fridge.

Frequently Asked Questions
How Often Should I Change My Whirlpool Fridge Water Filter?
You should change your Whirlpool fridge water filter every 6 months. Regular replacement ensures clean, fresh-tasting water and prevents clogging. Check the filter indicator light if your model has one. Changing timely maintains water flow and protects your appliance from damage.
What Tools Are Needed To Replace The Water Filter?
No special tools are needed to change the Whirlpool fridge water filter. Simply twist the old filter counterclockwise to remove it. Insert the new filter and twist clockwise until secure. Hand tightening is usually sufficient for a proper seal.
How Do I Reset The Water Filter Indicator Light?
To reset the water filter light, press and hold the reset button for 3 seconds. This button is usually near the display panel. Resetting the light after filter replacement helps track the next change accurately.
Can I Use Any Brand Filter For Whirlpool Fridges?
It’s best to use Whirlpool-approved or OEM water filters. These filters fit perfectly and maintain water quality. Generic filters may not fit properly or filter contaminants effectively, risking appliance performance and water taste.
Conclusion
Changing a water filter on your Whirlpool fridge keeps water clean and fresh. It only takes a few steps and little time. Regular changes help your fridge work well and last longer. Clean water means better taste and safety for your family.
Keep track of filter changes to avoid problems. Now, enjoy fresh water anytime from your fridge. Simple care makes a big difference.

Hasan Al Sarker is a Reverse Osmosis Specialist. He has worked for many years to ensure safe drinking water for all. His research paper has been published in several journals, including Issue, Medium, and Slideshare. He is recognized as a water doctor among specialists though he did not attend medical college.
Besides working as a researcher of reverse osmosis technology, he is also very fancy with the kitchen and cooking. His guides are reading thousands of people every day. As a head of content, he is responsible for all the published articles at RO System Reviews.